Painting a fiberglass boat is far more approachable than many boat owners expect. While achieving a professional-looking finish absolutely requires patience, planning, and attention to detail, the actual techniques involved are well within reach for many DIY boaters. The difference between an average paint job and an exceptional one usually comes down to preparation, environmental control, and understanding how marine coatings behave during application and curing.
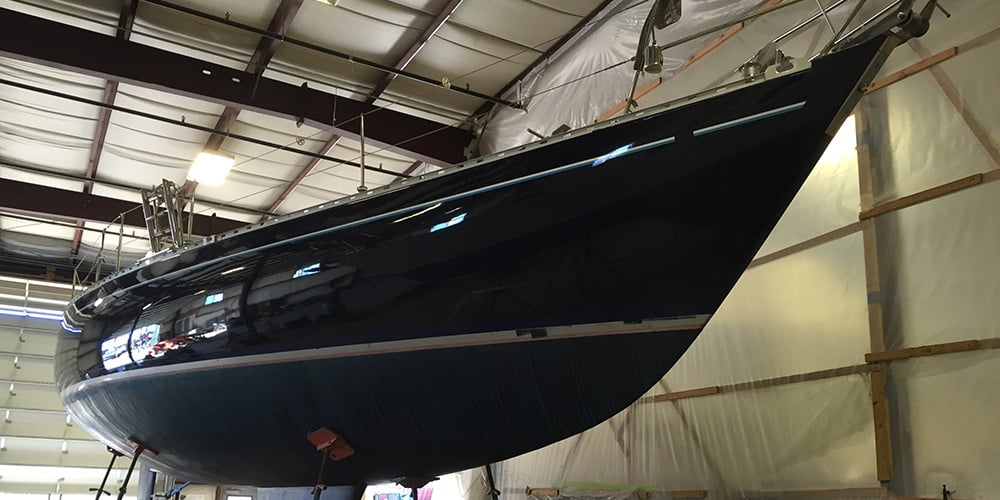
A quality paint system does much more than improve appearance. Marine paint protects aging gelcoat from UV damage, moisture intrusion, oxidation, staining, and long-term surface degradation. A properly painted fiberglass hull can dramatically improve the appearance, resale value, and longevity of a boat while making ongoing maintenance easier.
Modern marine coatings have also evolved significantly. Today’s premium paints offer better durability, gloss retention, scratch resistance, and UV protection than older marine enamels, while advances in foam roller application techniques now allow many boat owners to achieve surprisingly smooth finishes without professional spray equipment.
Before beginning your Epifanes painting project, watch this three-part instructional video on applying Epifanes two-part Poly-urethane with a foam roller.
Why Fiberglass Boats Eventually Need Paint
Fiberglass-reinforced composite boats leave the factory protected by a glossy gelcoat layer that seals and shields the underlying fiberglass structure. Over time, UV radiation, saltwater, oxidation, abrasion, and environmental contaminants slowly break down that gelcoat surface.
Initially, oxidation can often be corrected through compounding and polishing. But eventually the gelcoat becomes too thin, porous, or weathered to restore effectively. When this happens, a properly applied marine paint system becomes the best long-term solution.
When Polishing Is No Longer Enough
If the surface oxidizes rapidly after polishing, continues chalking heavily, or shows widespread discoloration and porous texture, paint is often a better long-term investment than repeated restoration attempts. Heavily weathered gelcoat may no longer hold gloss consistently and benefits greatly from a complete coating system.
- Step 1: Preparation
- Step 2: Decide on One- or Two-Part Paint
- Step 3: Gather Your Tools
- Step 4: Double Check Your Surface Prep
- Step 5: Apply Primer
- Step 6: Choosing the Right Paint
- Step 7: Carefully Plan Your Painting Schedule
- Step 8: Be Ready for Setbacks
- Step 9: Wet Sanding and Final Finish
- FAQs
Step 1: Stunning Paint Jobs Start with Good Preparation
Preparation is the single most important factor in the success of any marine paint job. Clean and smooth should become your entire focus during this stage. Any contamination, leftover wax, sanding scratch, grease spot, silicone residue, or poorly faired repair can become highly visible once glossy paint is applied.
Proper prep work also directly affects adhesion. Marine coatings bond best to clean, mechanically abraded surfaces free from oxidation and contaminants.
First, clean the fiberglass thoroughly using warm water and ammonia. Then clean it again using Epifanes Fiberglass Prep Cleaner to remove waxes, oils, silicones, and residue that can ruin paint adhesion.
Next, sand the gelcoat surface thoroughly using 180–220 grit sandpaper. Sand evenly and consistently across the entire area being painted. After sanding, clean the surface again using Prep Cleaner.
Now is the ideal time to repair blisters, cracks, chips, and scratches. Smaller imperfections can be filled with Epifanes Fiberglass Filler, while larger voids and structural repairs may require Epifanes Epoxy Filler 1500.
Important: Apply primer to repaired areas as soon as filler cures to seal moisture out of the repair.
Why Surface Prep Takes So Long
Many first-time painters underestimate how much time surface preparation actually requires. Sanding, cleaning, masking, fairing, and inspecting surfaces often consume far more time than the painting itself. Paint only magnifies imperfections — thorough prep work is what separates smooth, professional-looking finishes from disappointing results.
Temperature and Humidity Matter Early
Environmental conditions affect more than just paint application. High humidity during preparation stages can introduce moisture contamination into fillers, primers, and sanded fiberglass surfaces. Whenever possible, work in stable temperature conditions with controlled humidity and good ventilation.
Has Your Boat Been Painted Before?
If you’re working with original factory gelcoat that has never been repainted, you can generally choose either one-part or two-part paint systems. Previously painted boats require additional evaluation because paint compatibility matters significantly. Using incompatible coating systems can lead to lifting, wrinkling, adhesion failure, and expensive rework.
Step 2: Decide on One- or Two-Part Paint
If your boat has been painted previously and you want to use two-part Epifanes Poly-urethane, you must determine whether the existing finish is one-part or two-part paint.
To test the existing surface, saturate a lint-free cloth with acetone and place it on the painted area for approximately 10 minutes:
- If the surface wrinkles or softens, it is likely one-component paint.
- If the finish remains stable, it is likely two-component paint.
One-component paints can generally only be recoated with compatible one-component systems, while two-component paints offer greater flexibility.
Benefits of One-Part Marine Paint
One-part paints such as Epifanes Mono-urethane and Yacht Enamel are easier to apply and more forgiving under varying environmental conditions. They flow beautifully, are simpler to touch up, and remain excellent choices for many recreational boat owners.
Benefits of Two-Part Polyurethane Paint
Two-part polyurethane paints provide superior hardness, gloss retention, UV resistance, and abrasion durability. However, they are less forgiving and require tighter control over temperature, humidity, and application technique. These systems cure through chemical catalyzation rather than simple air drying.
When to Choose One-Part vs. Two-Part Paint
- Choose one-part paint if: You want easier application, easier touch-up, and broader working conditions.
- Choose two-part paint if: You prioritize maximum durability, long-term gloss retention, and professional-grade finish quality.
Two-part polyurethane should preferably be applied indoors with temperatures between 54°F and 77°F and humidity below 70% whenever possible.
Step 3: Gather Your Tools
Once you’ve selected your coating system and color, carefully estimate the amount of material required. Running out of paint mid-project can create color consistency problems and delay application schedules.
Coverage Area Calculations
Hull above the waterline: 2 × (length overall + beam) × freeboard
Superstructure: Total height + 2 × length overall + 2 × beam − window sections
Decks: 0.75 × total length overall × beam − superstructure
Always calculate an additional 10–15% material beyond estimated coverage rates to account for application method, waste, and surface absorption. Check batch numbers carefully — mixing batches together before use helps ensure color consistency across the entire project.
Shopping List
- Brushes
- Rollers
- Masking tape
- Sandpaper
- Disposable gloves
- Respirator
- Safety glasses
- The correct Epifanes cleaners and thinners
High-quality tools directly affect final finish quality. Cheap rollers, poor-quality brushes, and contaminated solvents often create unnecessary application problems.
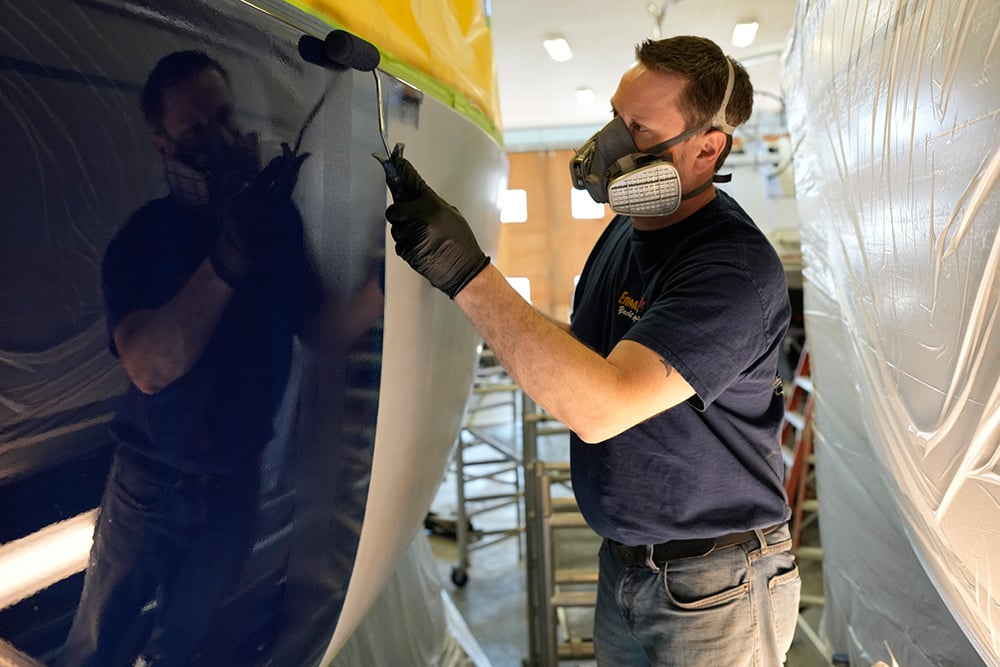
Why Foam Rollers Work So Well
Modern high-density foam rollers can produce extremely smooth finishes when used correctly with compatible marine paints. This application method dramatically simplifies the process for DIY boat owners who do not have access to spray facilities. The key is using short, even strokes without overworking the paint, which can cause the coating to pull and create orange peel texture.
Step 4: Double Check Your Surface Prep
Surface prep should be reviewed carefully before primer or topcoat application begins.
For original gelcoat surfaces:
- Wash with water and ammonia
- Degrease using Epifanes Fiberglass Prep Cleaner or acetone
- Sand thoroughly with 180-grit paper
- Clean again before coating
For previously painted surfaces:
- Wash thoroughly
- Use appropriate cleaners and thinners
- Avoid aggressive solvents on older one-part paint systems
- Sand thoroughly with 180–220 grit paper
How Contamination Ruins Paint Jobs
Wax, silicone, grease, fingerprints, and airborne contaminants can cause fisheyes, adhesion failure, and uneven gloss during application. Even tiny contamination points can become highly visible under glossy marine coatings. Wiping down the surface with a tack cloth immediately before painting removes the final dust and lint that accumulates even in clean shop environments.
Step 5: Apply Primer for Maximum Adhesion
Primer improves adhesion, seals repairs, and creates a more uniform substrate for final topcoat application.
One-component options such as Epifanes Multi Marine Primer provide excellent filling and sanding characteristics. Two-component epoxy primers provide superior long-term protection and moisture resistance.
Most professionals apply multiple primer coats and sand thoroughly between coats to maximize adhesion and surface smoothness. If coating original gelcoat, thin the first epoxy primer coat by approximately 25% to improve penetration and bonding.
Sanding Between Coats
Sanding between primer coats improves mechanical adhesion and helps level imperfections before topcoat application. Use 220–320 grit between primer coats — finer than the initial prep sanding. Skipping this step reduces long-term coating performance and finish quality. Always clean the sanded surface again before applying the next coat.
How Many Primer Coats Are Needed?
Most fiberglass paint systems perform best with at least two properly applied primer coats. Heavily repaired or weathered surfaces may require additional build coats. Always follow manufacturer cure schedules and sanding recommendations — recoating too soon or too late both affect adhesion.
Step 6: Choosing the Correct Paint
Different marine paints are designed for different environments, substrates, and application priorities. Epifanes offers a complete system from surface prep through final topcoat.
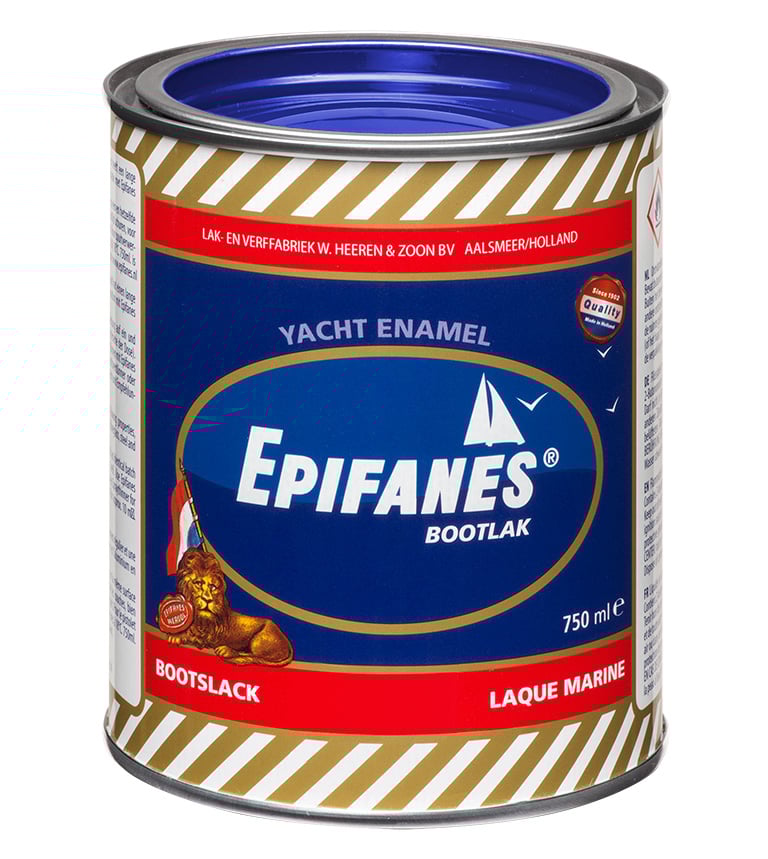
Epifanes Yacht Enamel — classic one-component alkyd paint with excellent flow characteristics and flexibility. Performs especially well on wood and flexing structures.
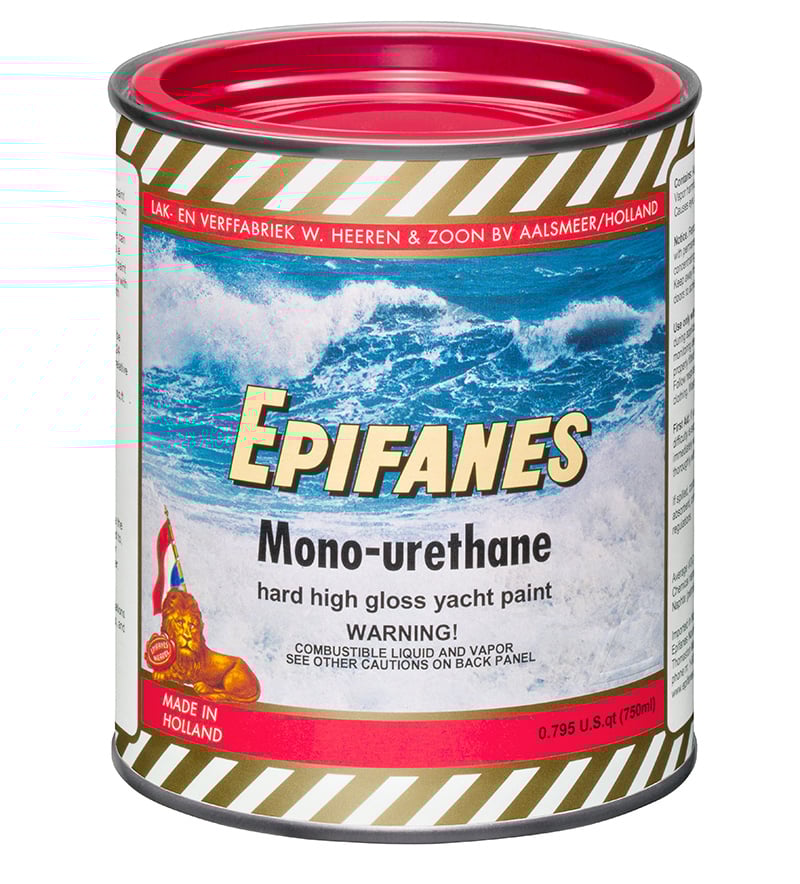
Epifanes Mono-urethane — improved hardness and durability compared to alkyd enamels, while remaining easier to apply than two-component systems. A strong choice for fiberglass hulls where spray equipment isn’t available.
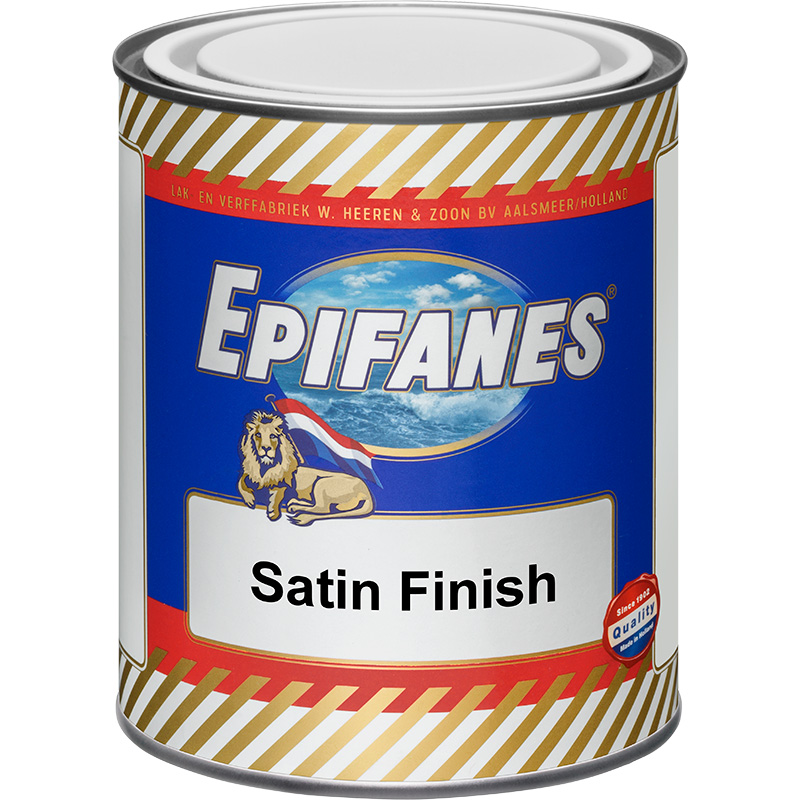
Epifanes Satin Finish and Epifanes Enamel Flat Black — specialized matte and satin finishes for interiors, trim, and select exterior applications where a non-reflective surface is preferred.
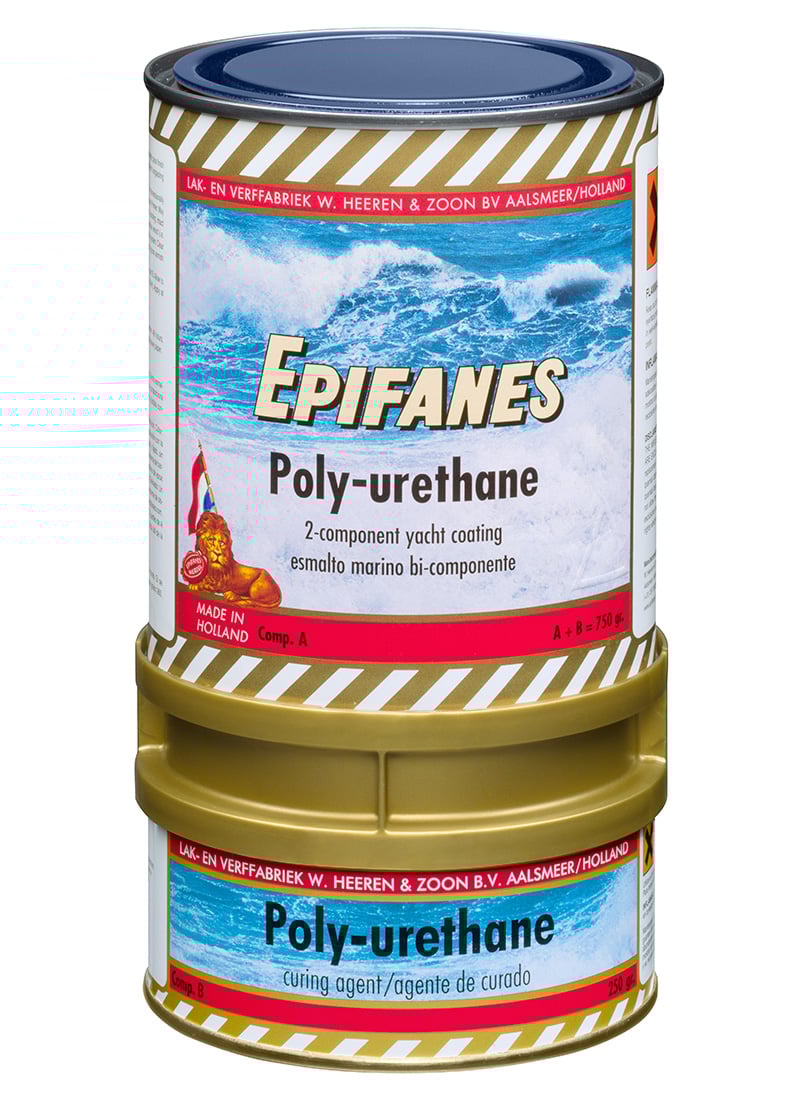
Epifanes Poly-urethane Yacht Paint — exceptional gloss, hardness, and scratch resistance. Can be brushed, sprayed, or foam-rolled. One of the most durable marine topcoat finishes available. Because two-component polyurethane coatings contain strong chemical hardeners, proper respirator use and ventilation are critical during application.
What Color Is Best for Boats?
Darker colors often create striking appearance and depth but absorb more heat, making interior spaces warmer, and may highlight imperfections more easily because they show surface irregularities more than lighter shades. They also tend to show water spots and minor scratches more readily. Lighter colors generally remain cooler, are more forgiving of minor surface inconsistencies, and are easier to maintain over time. White and off-white remain the most popular hull colors for practical reasons as much as aesthetic ones.
Step 7: Carefully Plan Your Painting Schedule
Marine painting projects require careful scheduling around cure times, weather conditions, humidity, and working temperature. Rushing between coats or painting outside recommended environmental conditions can compromise adhesion, gloss retention, and cure quality.
Cold temperatures slow curing dramatically — two-part polyurethane applied below 54°F may not cure properly regardless of drying time. Excessive humidity can affect finish quality and solvent evaporation. Most professionals check temperature and humidity forecasts before committing to a painting day and schedule sessions for mid-morning through early afternoon when conditions are most stable.
Build Extra Time In
Most coating failures happen because steps were rushed, cure schedules ignored, or surfaces recoated too soon. A realistic fiberglass painting project for an average recreational boat typically requires several weekends spread over two to four weeks — not a single long weekend. Building extra time into the project schedule reduces stress and improves final finish quality significantly.
Step 8: Be Ready for Setbacks
Dust contamination, humidity changes, runs, fisheyes, solvent pop, and unexpected weather interruptions can happen even on carefully planned projects. The key is addressing problems immediately rather than painting over them. Most paint problems are far easier to correct early than after the entire system fully cures.
Common Marine Paint Problems — Causes and Fixes
- Runs and sags: Too much paint applied at once, or application in excessively hot conditions that slow the set time. Fix: catch runs while wet by brushing out with a dry brush; sand flush once cured.
- Orange peel texture: Paint drying too quickly before it can level, often from high temperatures or excessive air movement, or from overworking foam-rolled paint. Fix: wet-sand with 400–600 grit and apply a final tipping coat in cooler conditions.
- Fisheyes: Surface contamination — usually silicone, wax, or oil — repelling paint and creating craters. Fix: allow to cure, sand the affected area, re-clean aggressively, and recoat. Fisheyes cannot be brushed out once they appear.
- Poor adhesion / lifting: Incompatible coating systems, insufficient surface prep, or recoating outside the recommended window. Fix: strip the affected area down to a stable substrate and start again with compatible products.
- Dust nibs: Airborne particles landing in wet paint. Fix: allow full cure, then wet-sand with 600–800 grit and buff. Working in a clean, enclosed space dramatically reduces dust contamination.
- Uneven gloss: Inconsistent application thickness, variation in substrate porosity, or mixing from different batches. Fix: wet-sand and apply an additional topcoat, ensuring consistent application speed and overlap.
- Premature lifting: Applying too-strong solvents over incompatible existing paint, or applying before the previous coat has fully cured. Fix: remove the lifted material completely before proceeding.
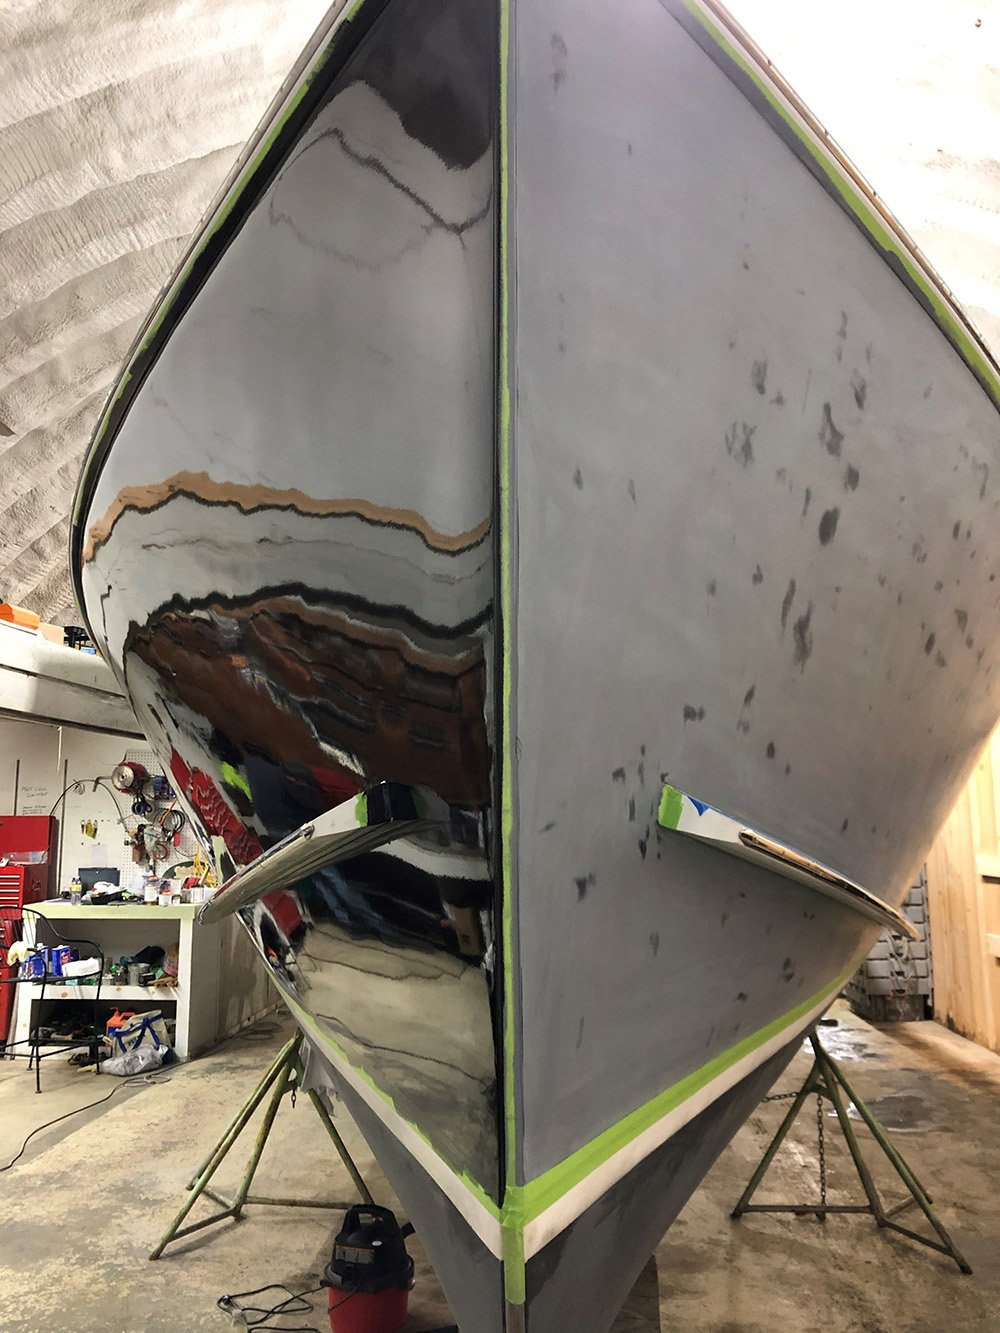
Step 9: Wet Sanding and Final Finish
Painting a fiberglass boat takes time and effort, but many boat owners are surprised by how satisfying the process becomes once they settle into a steady rhythm of preparation, sanding, and coating. When done correctly, the final transformation can be dramatic — faded, oxidized fiberglass can regain deep gloss, vibrant color, and a professionally restored appearance.
Wet sanding for a glass finish: Even a well-applied foam-rolled topcoat benefits from wet sanding and buffing to achieve maximum gloss. After the final topcoat has fully cured (typically 5–7 days for two-part polyurethane), wet-sand with 600 grit to remove any orange peel or dust nibs. Progress to 800, then 1000, then 1200 grit, keeping the surface wet throughout. Finish with a marine rubbing compound and a foam buffer or orbital polisher. The result — a mirror finish far smoother than the roller texture alone — is worth the extra work and is how professional detailers achieve results indistinguishable from spray application.
Visit the Epifanes website for additional technical information or contact them directly at (207) 354-0804 for project-specific guidance and troubleshooting assistance.
Frequently Asked Questions
How do I know if my existing boat paint is one-part or two-part?
The acetone test: saturate a lint-free cloth with acetone and place it on the painted surface for 10 minutes. If the surface softens or wrinkles, it is one-component paint. If it remains stable, it is two-component. This matters because applying two-part polyurethane over one-part paint typically causes the one-part paint to lift or wrinkle, ruining both layers. When in doubt, stick with a compatible one-part system or strip down to gelcoat.
Can I paint over existing boat paint without stripping it?
Yes, in most cases — but compatibility must be confirmed first using the acetone test. The existing paint must also be in good condition: firmly adhered, without peeling, lifting, or blistering. Paint applied over failing paint will fail with it. Sand thoroughly to provide mechanical adhesion, clean aggressively, apply compatible primer, and follow the paint manufacturer’s intercoat adhesion recommendations. When in doubt about compatibility, apply a small test patch in an inconspicuous area and allow it to cure fully before committing to the full project.
How many coats of topcoat should I apply?
Most marine topcoat systems perform best with two to three coats of topcoat over properly primed surfaces. The first coat seals the primer and establishes the color base; the second coat builds hiding power and gloss. A third coat, if needed, can address any remaining thin spots and improve gloss uniformity. More than three topcoats rarely improve the result and can actually soften the system overall on some two-part formulations by building excessive film thickness.
What went wrong if my paint bubbles or blisters?
Bubbles or blisters in a newly applied topcoat are typically caused by solvent pop — solvent vapor that becomes trapped beneath the paint film when the surface sets before the solvents can fully escape. This can happen from painting in hot direct sunlight, applying too thick a coat, or using too much reducer. Allow full cure, sand the affected area flat, and apply thinner coats in cooler conditions. Pre-existing osmotic blisters in the gelcoat (beneath the paint) indicate a different problem that must be addressed before painting — painting over osmotic blisters traps moisture and worsens the condition.
Do I need special equipment to paint a boat?
Not necessarily. High-density foam rollers and quality brushes allow most boat owners to achieve excellent results with modern marine paints without spray equipment. The Epifanes video embedded above demonstrates the roller technique in detail. The main equipment requirements beyond brushes and rollers are a proper respirator (not a dust mask) for two-part polyurethane, safety glasses, chemical-resistant gloves, and good ventilation. An orbital sander speeds up the sanding stages significantly and is worth renting or purchasing for any project beyond a small tender.