Whether you're upgrading to a high-output model or swapping out a worn-out unit, replacing your boat's alternator is a manageable DIY project for most boaters with a little mechanical know-how. The alternator is a key component of your engine’s charging system, keeping your batteries topped off and electronics powered. Here’s how to do it safely and correctly.
Contents
- Before You Begin: Choose the Right Marine Alternator
- Step-by-Step Alternator Installation Guide
- Step 1: Disconnect the Batteries
- Step 2: Take Photos and Label Wires
- Step 3: Remove the Alternator Belt
- Step 4: Disconnect the Wiring
- Step 5: Unbolt and Remove the Alternator
- Step 6: Install the New Alternator
- Step 7: Reconnect the Wiring
- Step 8: Reinstall and Tension the Belt
- Step 9: Reconnect the Batteries and Test
- Step 10: Monitor Performance
- Conclusion
- Alternator Installation FAQs
- We’re Here to Help!
- Related Articles
Before You Begin: Choose the Right Marine Alternator
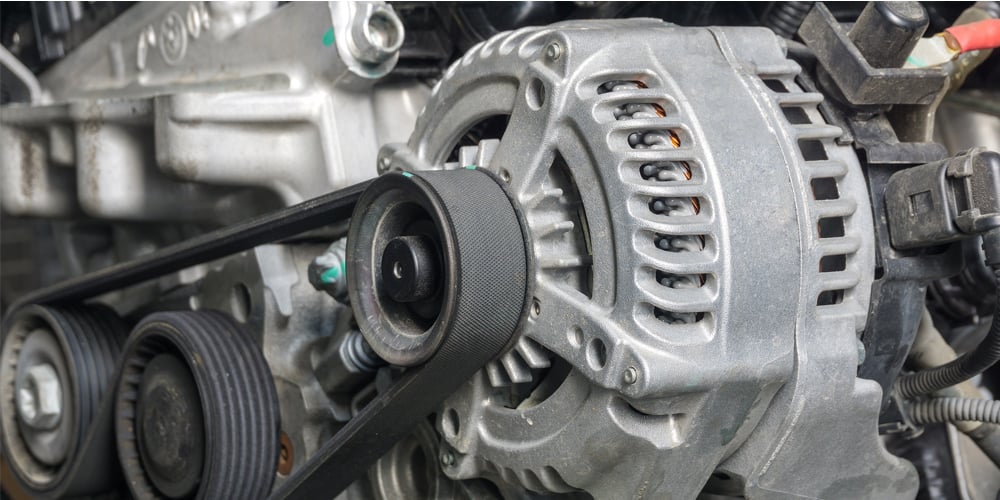
Before you start wrenching, make sure you’ve selected the right replacement. Your new alternator should be compatible with your engine’s mounting style, pulley configuration, and electrical system (12V or 24V). Consider your charging needs—standard OEM equivalent alternators may suffice for light loads, while high-output models are a smart choice for boats with large house battery banks and heavier electrical demands.
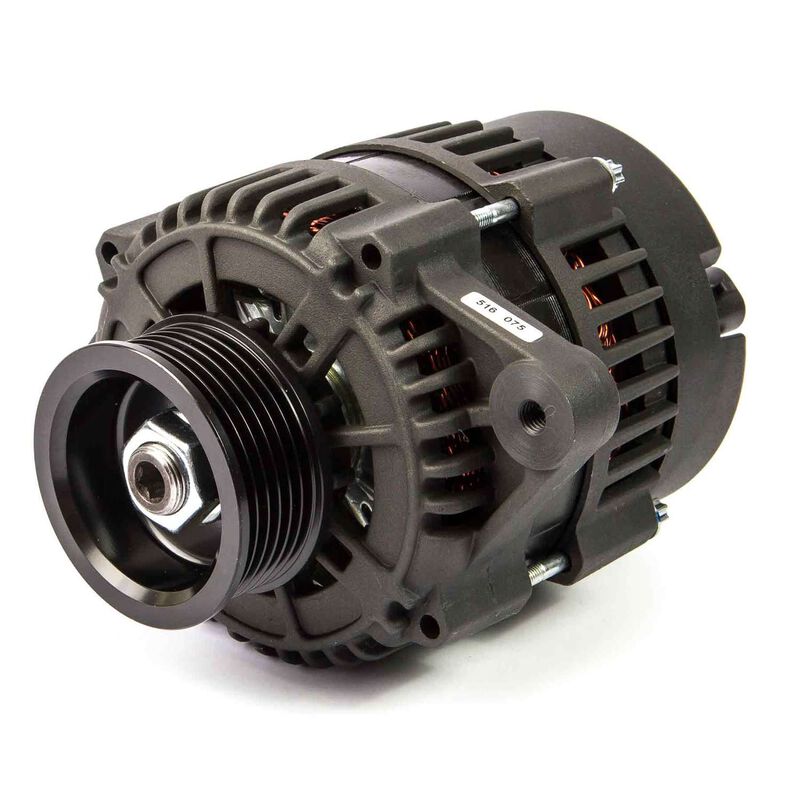 Sierra OEM Equivalent Alternators are available for a wide variety of marine engines. Shown: Sierra OEM Equivalent alternator for MerCruiser Sterndrives.
Internal vs. External Regulation
Pay special attention to the type of voltage regulation. Many marine alternators come with internal regulators that are factory-set to a single voltage profile—typically suitable for flooded lead-acid batteries. However, if you've upgraded to AGM, gel, or lithium batteries, those chemistries require more precise charging voltages and multi-stage profiles to ensure optimal performance and longevity. In these cases, an alternator with an external regulator—especially one that’s programmable or designed for smart regulation—is the better choice. External regulators can be tuned to match your specific battery type and often include temperature sensing and alternator protection features.
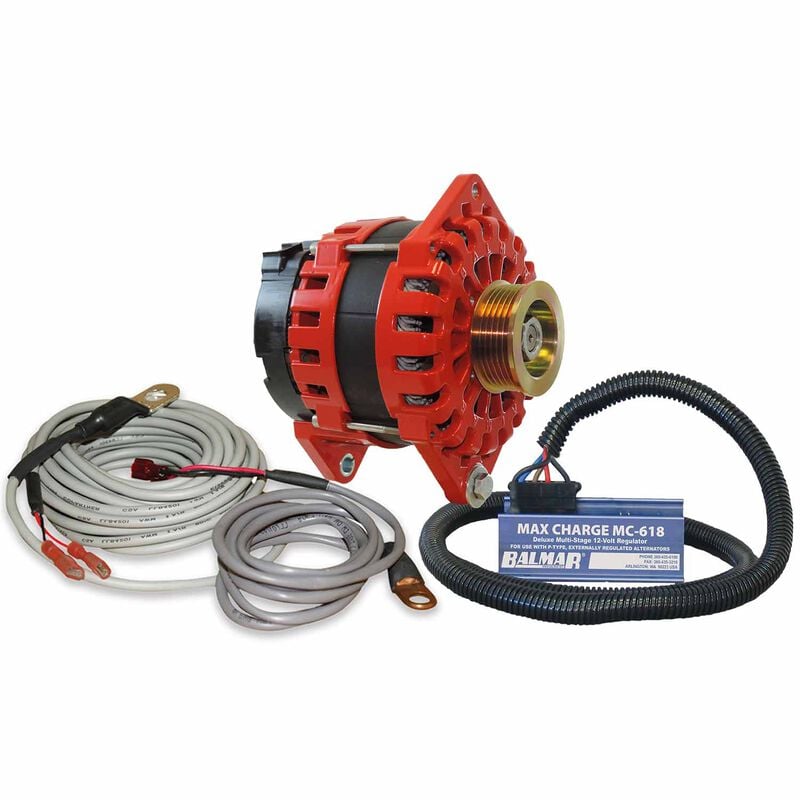 Balmar High-Output Alternators are available in a range of capacities. These may be purchased separately or as a kit that includes an external regulator, like the Balmar XT Series 250A Alternator Kit shown here.
For more tips on selecting the right model, check out our West Advisor article Selecting an Alternator.
Tools and Materials You’ll Need
Before you begin, gather the following tools and supplies:
- Replacement alternator (matched to your engine and electrical system)
- Wrenches and socket set
- Screwdrivers (flathead and Phillips)
- Belt tension gauge (optional but helpful)
- Anti-seize compound or marine-grade grease
- Multimeter
- Pen and notepad or smartphone (to take reference photos)
Step-by-Step Alternator Installation Guide
Step 1: Disconnect the Batteries
Safety first! Disconnect the negative terminal of your boat’s batteries to prevent any accidental shorts or sparks while you’re working on the electrical system.
Step 2: Take Photos and Label Wires
Before you remove anything, snap a few photos of the alternator and its wiring connections from different angles. Label each wire with masking tape and a marker, especially if they’re not color-coded. This will make reinstallation much easier.
Step 3: Remove the Alternator Belt
The procedure you follow to remove the alternator belt depends on whether you have a V-belt or serpentine belt system.
- V-Belt: These typically use a slotted bracket that allows the alternator to pivot. Loosen the pivot and adjustment bolts, then rotate the alternator toward the engine to slacken the belt. Once loose, slide the belt off the pulley and set it aside.
- Serpentine Belt: These use a spring-loaded automatic tensioner. Use a socket wrench or serpentine belt tool to rotate the tensioner and relieve tension, then slip the belt off the alternator pulley. Be mindful of the belt routing—take a photo or consult your engine diagram so you can reinstall it correctly.
In either case, inspect the belt for signs of wear, cracking, or glazing. If it looks questionable, now’s a great time to replace it.
Step 4: Disconnect the Wiring
Using your photos as a reference, carefully disconnect the wiring from the alternator. Depending on your setup, this might include:
- A large output wire connected to the battery or distribution bus
- A field wire (for externally regulated systems)
- A tachometer signal wire
- A ground wire (if not grounded through the casing)
Step 5: Unbolt and Remove the Alternator
Remove the mounting bolts and slide the alternator out of its bracket. Keep track of any spacers or washers—you’ll need them when installing the new unit.
Step 6: Install the New Alternator
Place the new alternator in the mounting bracket. Use anti-seize compound on the bolts to prevent corrosion, and install any washers or spacers in the same configuration as before. Finger-tighten the bolts for now.
Step 7: Reconnect the Wiring
Match each wire to the correct terminal based on your labels and photos. Double-check your connections before proceeding. If your new alternator is a different model or type, consult the manufacturer’s wiring diagram and proceed accordingly.
Step 8: Reinstall and Tension the Belt
The method for reinstalling and tensioning the belt depends on your engine's setup.
- V-Belt: Loop the belt over the alternator pulley and use the adjustment bracket to pull the alternator outward until the belt is snug. Tighten the pivot and adjustment bolts once the tension is correct. A properly tensioned V-belt should deflect about 1/2 inch when pressed at the midpoint between pulleys.
- Serpentine Belt: Route the belt according to the engine diagram, making sure it's seated properly on each pulley. Use a socket wrench or serpentine belt tool to rotate the spring-loaded tensioner and slip the belt over the alternator pulley. Once in place, slowly release the tensioner to apply pressure. Double-check that the belt is aligned in every pulley groove and that no twists have occurred.
In either case, a belt that’s too loose may slip and squeal; one that’s too tight can put excess strain on alternator bearings. Use a belt tension gauge if available, or consult your engine manual for recommended specs.
Step 9: Reconnect the Batteries and Test
Reconnect the negative battery terminals and start the engine. Use a multimeter to check voltage at the battery terminals. You should see around 13.8 to 14.5 volts with the engine running—this confirms your new alternator is charging.
Step 10: Monitor Performance
On your next few outings, keep an eye on your voltmeter, belt tension, and battery levels. If you hear unusual noises or see signs of undercharging, double-check your installation or consult a marine technician.
Conclusion
Replacing your alternator might sound like a job for a pro, but with the right tools and a methodical approach, it’s a rewarding DIY that can save you time and money—while giving you peace of mind out on the water.
Alternator Installation FAQs
1. How do I know if my alternator needs to be replaced?
Common signs include dimming lights, slow cranking when starting, a warning light on your dash, or low voltage readings on your voltmeter. If your batteries aren't charging properly, the alternator could be the culprit.
2. Can I replace my alternator with a higher-output model?
Yes, but make sure it’s compatible with your engine’s mounting style, pulley setup, and electrical system. High-output models are ideal if you've added electronics or have a large battery bank, but they may require upgraded wiring or an external regulator.
3. What’s the difference between internal and external regulation?
An internally regulated alternator has a built-in voltage regulator. An externally regulated system uses a separate device, often with more advanced control over charging. It’s important to match your new alternator to the regulation system your boat is set up for.
4. How do I tell if I have a V-belt or serpentine belt system?
V-belts are narrow and typically run in a single groove around the pulley. Serpentine belts are wider, flatter, and loop around multiple pulleys with a spring-loaded tensioner. Your engine manual or a quick visual inspection will help confirm which system you have.
5. Do I need to replace the belt when I replace the alternator?
Not always, but it’s a good idea to inspect it closely for cracks, fraying, or glazing. If there’s any sign of wear, replace it while you’re in there—it’s inexpensive insurance against future trouble.
6. What voltage should I see after installing the new alternator?
With the engine running, your multimeter should read between 13.8 and 14.5 volts at the battery terminals. If it's outside that range, recheck your wiring and belt tension, or consult a marine technician.
We’re Here to Help!
Whether you’re replacing your alternator, swapping out spark plugs, or tackling another boat project, West Marine has the gear and expertise to help you get it done right. Shop online or visit one of our 230+ stores nationwide. Use our store locator to find the West Marine nearest you.