How is your lower back feeling these days? Raising an anchor by hand can be a real workout. Whether you own a fishing boat, power cruiser, or sailboat, a windlass makes anchoring easier and safer. Windlasses can be DIY-installed by a boat owner with intermediate mechanical and electrical skills. This guide walks you through the key decisions and steps.
- Anchor Rollers and Alignment
- Choosing a Windlass That Fits Your Chain Locker
- Backing Plates
- Sealing Installation Holes
- Electrical Considerations
- Electrical Components
- Installation Options
- Wire Sizing
- FAQs
Mechanical Considerations
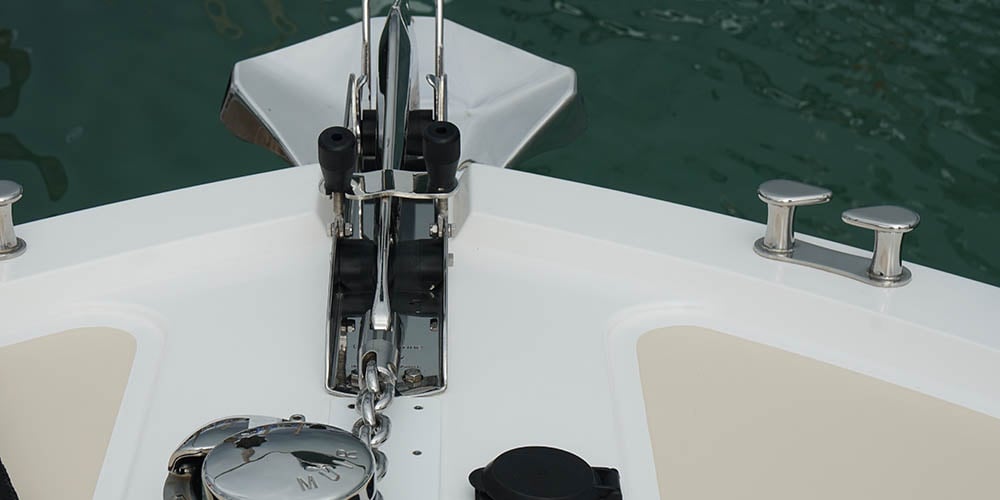
Anchor Rollers and Alignment
Your anchor roller or mount should be sized and configured for the anchor you will use. Powerboats commonly place anchor rollers on their centerline since they have no headstays. For sailboats, the anchor roller should be located as close to parallel with the centerline as possible while avoiding conflict with stem fittings, headstays, furling drums, and other installations.
Wooden blocks may be required to raise the anchor roller above the toerail and position it outboard so the anchor won’t contact the hull when weighed. Some windlasses require shimming so the rode runs parallel to the deck. Side-to-side alignment is critical for vertical windlasses, which may need to be offset from the boat’s centerline to achieve a fair lead through the anchor mount. The goal is a straight, clean run for the anchor rode all the way down to the chain locker.
Choosing a Windlass That Fits Your Chain Locker
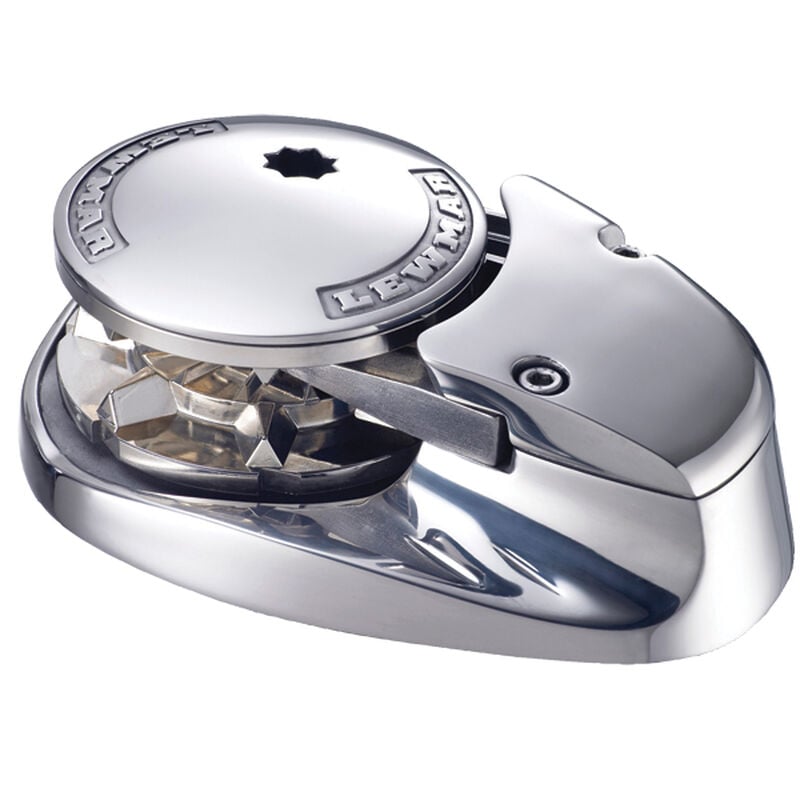
This vertical windlass has a sleek, flush-mount design that hides the motor below deck.
Vertical windlasses generally require a larger hole in the deck for the motor, which hangs below. They are suitable for boats with larger chain lockers and require a longer fall for the chain to drop and stack properly.
Horizontal windlasses are mostly self-contained on deck. You only need to drill holes for the chain pipe, wiring, and thru-bolts — installation is simpler than with vertical models. Horizontal windlasses work well for boats with small or unusually shaped chain lockers, typically requiring a minimum chain fall of only 12”. Very large yacht windlasses and most manual windlasses are horizontal. Note that side-to-side alignment of horizontal windlasses is critical — they cannot accept rodes leading from off-center angles as tolerantly as vertical models.
Backing Plates
Install substantial backing plates under all windlass hardware and ground tackle fittings. The loads encountered when weighing anchor — and particularly when attempting to break out a fouled anchor — are significant and must be distributed across a large area of the deck structure rather than concentrated at individual fastener holes.
Sealing the Installation Holes
All deck penetrations for the windlass must be properly sealed to prevent water from migrating into the plywood or balsa core of the deck. Use a Dremel tool to remove approximately half an inch of core material from around the inside of each hole. Saturate the exposed core with unthickened epoxy resin, then fill the void with epoxy thickened to a peanut butter consistency. Allow to cure fully before installing hardware. Caulk the base of the windlass with a flexible marine sealant — a removable sealant like 3M Multi-Caulk allows future removal of the windlass while keeping water out.
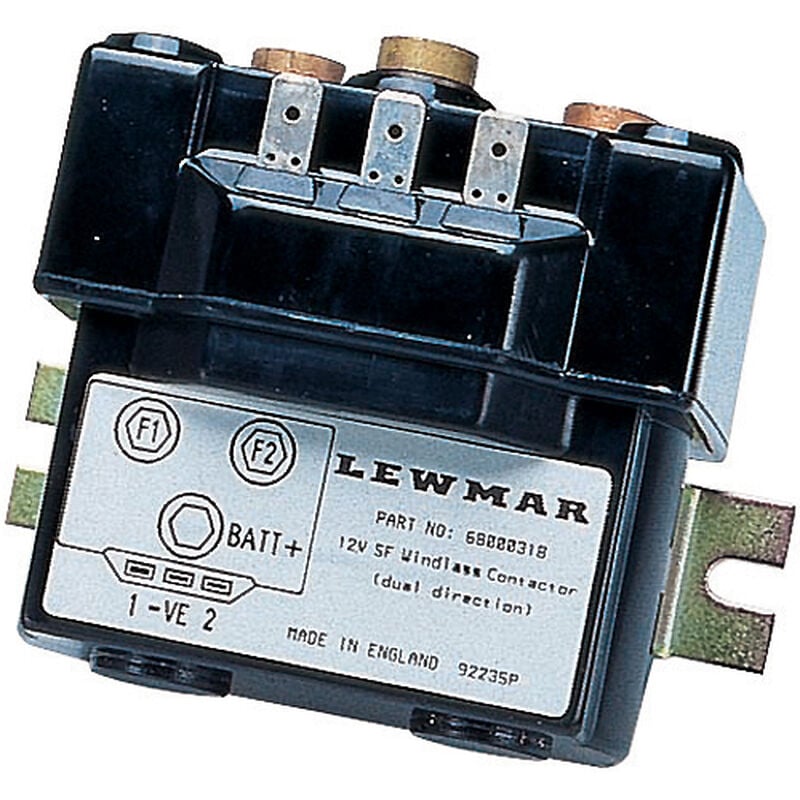
Dual-direction windlass solenoid for three-wire split field motor.
Electrical Considerations
Three Installation Questions
Proper windlass electrical installation depends on three factors.
First, determine your motor type. Permanent-magnet motors have two wire terminals. Direction is reversed by reversing polarity at those terminals. Series-wound motors have three terminals — two positive and one negative. Direction depends on which positive terminal is energized. Motor type dictates which switching mechanism is appropriate.
Second, determine whether you want single-direction (up only) or dual-direction (up/down) operation. Many windlasses are power-up/power-down by design. Others have a manual clutch for down direction, or free-fall. Since most boaters prefer power-up/power-down, single-direction windlasses are becoming less common.
Third, determine whether you want remote operation. Sailors commonly weigh anchor from the bow. On many powerboats, operating the windlass from the bow may be inconvenient — or unsafe in rough weather. Deck-mounted foot switches near the windlass are useful even without remote operation. Panel switches at the helm are popular on powerboats. Handheld remotes (wired or wireless) can be used on any vessel when remote operation is desired.
Electrical Components

Panel-mount windlass circuit breaker.
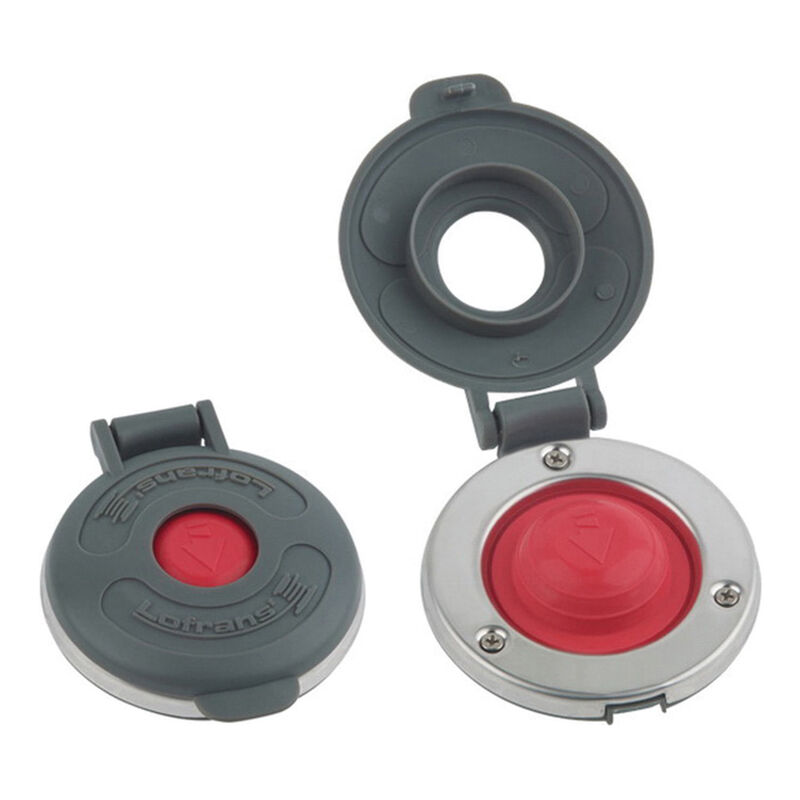
Covered 4” diameter windlass foot switch.
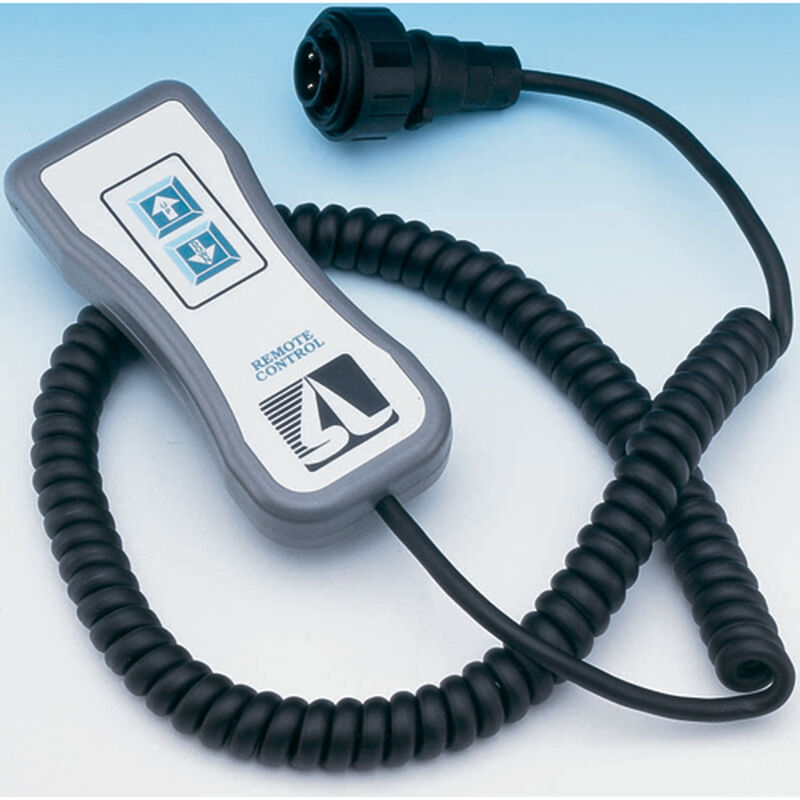
Handheld up-down windlass remote.
Circuit breaker: Every electric windlass circuit must have appropriately sized circuit protection — a heavy-duty circuit breaker located as close as possible to the battery bank in a dry, accessible location. The breaker must be sized to handle expected operating loads while protecting the wiring from high current draw or a short circuit. Important: circuit protection will not protect the motor from sustained high-load use, which can cause heat buildup in the motor without tripping the breaker. Windlasses are designed for short-duration operation only — operate in short bursts and allow the motor to cool between uses.
Windlass switches vary by current-carrying capacity. Current-carrying switches such as foredeck foot switches handle the full current of the windlass — potentially 200 amps. Low-current switches such as panel switches or hand remotes operate solenoids rather than carrying windlass current directly.
A solenoid is an electric relay that opens or closes the main windlass circuit when triggered by a remote low-current switch. Because windlasses draw large amounts of current, a solenoid allows remote operation without running full windlass current through the remote switching device. A dual-direction control box contains two solenoids and switching gear that directs current to make the windlass run up or down.
Installation Options
Many variations exist depending on your boat’s configuration. Use these guidelines to determine the components you need, then consult the windlass manufacturer’s instructions or a marine electrician for the specifics of your installation.
Permanent-magnet motor options:
- Up only: Use a foot switch or heavy-duty single-throw switch at the helm.
- Up/down: Use a double-pole/double-throw switch capable of handling the full windlass current.
- Up/down with remote operation: Use a dual-direction control box designed for permanent-magnet motors, plus any combination of foot switches, panel switch, or hand remote.
Series-wound motor options:
- Up only: Use a foot switch rated for full current.
- Up/down at the windlass: Use two foot switches — one for up, one for down.
- Up/down with remote operation: Use a dual-direction switch box designed for series-wound motors plus any combination of foot switches, panel switch, or hand remote.
Wire Sizing
Windlass current draw can reach 300 amps or greater at near-stalling load. Wiring must be appropriately sized to avoid excessive voltage drop (more than 10 percent at maximum load), overheating, or failure. Even small windlasses typically require 2-gauge or 1-gauge cable; most larger windlasses require 2/0-gauge or 4/0-gauge.
Calculate wire size based on the total round-trip cable run length (positive and negative combined) and the maximum load. Consult your windlass owner’s manual or our Marine Wire Size and Ampacity Guide to determine the correct gauge for your specific installation. You will need a heavy cable crimping tool and adhesive-lined heat shrink tubing to make waterproof connections. Support the wire run every 18” to prevent flexing.
A Dedicated Battery in the Bow?
We recommend powering the windlass from the existing house battery bank rather than from a separate battery in the bow. A dedicated bow battery adds appreciable weight forward — already a concern with the windlass, anchor, and rode — and creates charging and maintenance challenges. Charging cables for a bow battery would need to be nearly as large as the windlass supply cables themselves, and charging over a long distance can involve large current flows, voltage drop, and heat buildup. In contrast, the windlass draws current in short bursts, so the supply cables are not under continuous load.
Chain Stopper and Snubber
One important accessory not to overlook: a chain stopper or snubber should be installed between the windlass and the anchor roller. The windlass motor is not designed to bear the sustained load of a rode under tension while at anchor — that load should be transferred to a dedicated cleat, bow cleat, or snubber line. Using a nylon snubber also absorbs the shock loads from wave action that would otherwise be transmitted directly through the chain and rode to the windlass, deck fittings, and hull. Never leave the windlass as the sole holding point while anchored.
Frequently Asked Questions
What size windlass do I need for my boat?
Windlass manufacturers rate their units by maximum pulling power (in pounds) and by the chain or rope size they will accept. A general rule of thumb is to select a windlass with a rated pull of at least three times the total weight of the anchor, chain, and rode. For a 35-foot boat with a 35-pound anchor and 150 feet of 5/16” chain, that weight may total 100–150 pounds, suggesting a windlass rated for at least 450 pounds of pull. Always consult the windlass manufacturer’s sizing guide and your anchor rode specification.
What is the difference between a vertical and horizontal windlass?
A vertical windlass has its motor hanging below the deck and is best for boats with large chain lockers that provide adequate chain fall. A horizontal windlass is mostly self-contained on deck and works well for boats with small or shallow chain lockers (minimum 12” fall). Horizontal models are generally easier to install but are more sensitive to off-center rode alignment. Choose based on your chain locker dimensions and available deck space.
What is the difference between a series-wound and permanent-magnet windlass motor?
Permanent-magnet motors have two wire terminals and change direction by reversing polarity. They are typically used in smaller windlasses and require a double-pole/double-throw switch or solenoid box for up/down operation. Series-wound motors have three terminals (two positive, one negative) and change direction by energizing different positive terminals. They are common in larger, higher-current windlasses and typically use a solenoid control box. The motor type determines which switching components are compatible with your installation.
How long can I run my windlass continuously?
Windlasses are designed for short-duration, intermittent use — typically rated at a duty cycle of 3–5 minutes on followed by an equal or longer cooling period off. Running a windlass continuously can cause the motor to overheat without tripping the circuit breaker. If weighing a long rode in segments, pause between each segment to allow the motor to cool. Never leave the windlass energized when not actively hauling.
Do I need a chain stopper or snubber?
Yes. The windlass should never be left as the sole holding point while at anchor. Install a chain stopper or snubber to transfer the load from the rode to a dedicated bow cleat or deck fitting. A nylon snubber also absorbs shock loads from wave action that would otherwise be transmitted through the chain to the windlass, deck hardware, and hull. Most windlass manufacturers specify that leaving load on the windlass while anchored will void the warranty.
What wire size do I need for a windlass?
Wire size depends on the windlass current draw and the total length of the cable run (positive plus negative, measured in feet). Even small windlasses typically require 2-gauge or 1-gauge cable; larger windlasses require 2/0-gauge or 4/0-gauge. Calculate the correct size using our Marine Wire Size and Ampacity Guide or your windlass owner’s manual. Undersized wiring causes voltage drop that reduces windlass performance and creates a fire hazard.